Beloved - Slider Setup
Home Page Slider

This tutorial shows how to setup the Slider for the Website version of the Beloved theme.
This theme uses the Soliloquy Lite plugin, which can be obtained here or by searching in Dashboard > Plugins > Add New.
You do not need to upgrade to the Pro version of this plugin to use it as shown in our demo. However, you are more than welcome to purchase it if you’d like access to more of it’s features.
- Install and activate the plugin.
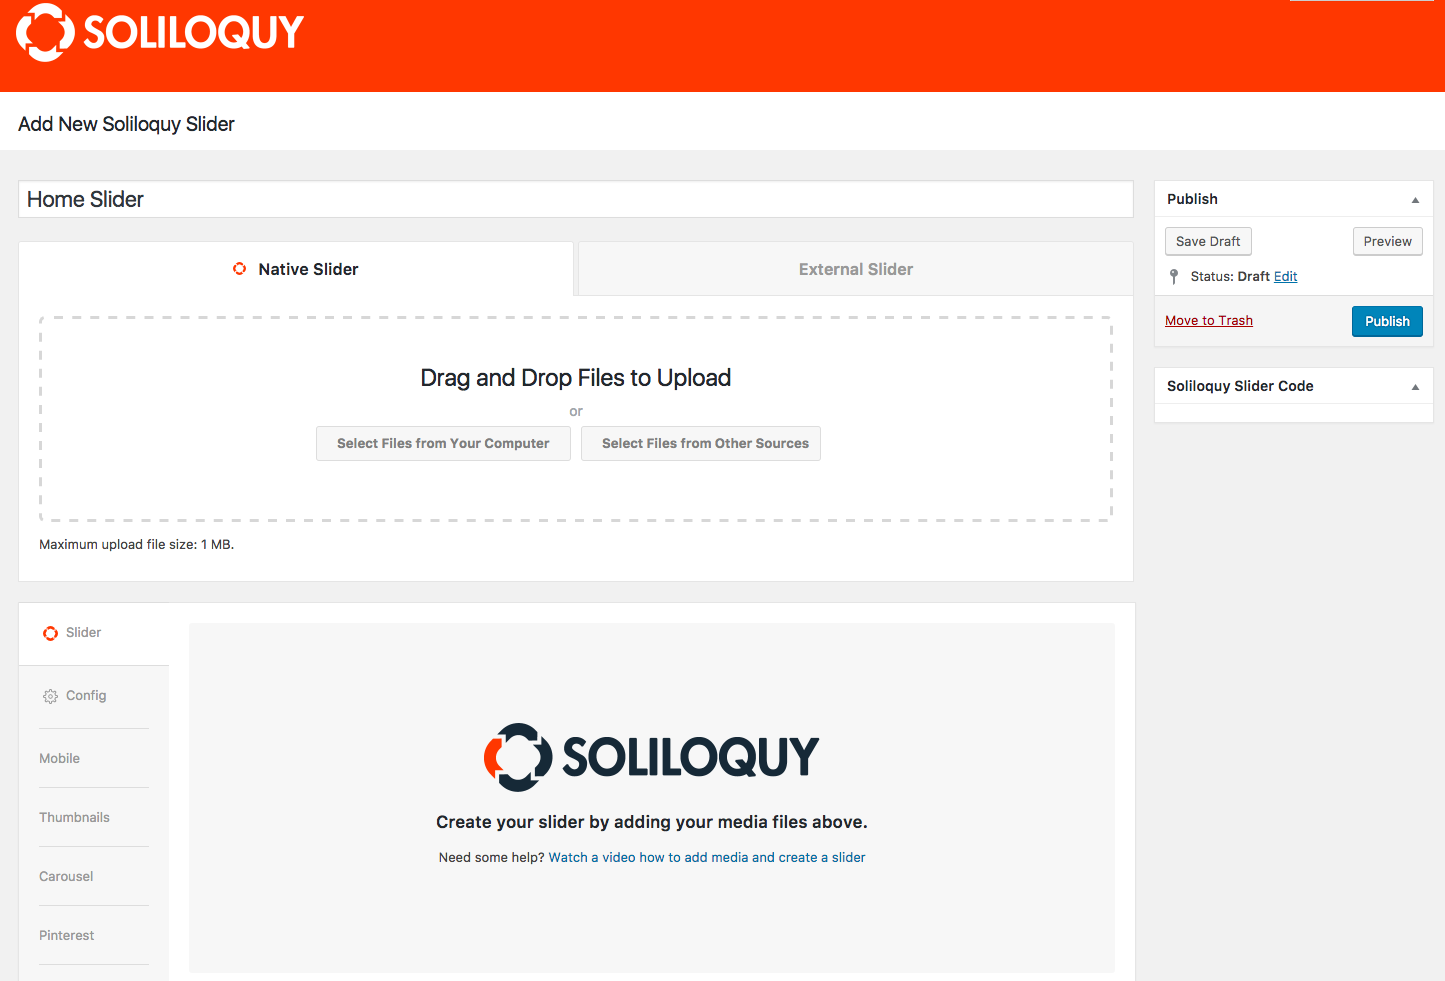
- On the left side of the dashboard hover over Soliloquy and click on Add New.
- Give your new slider a name such as Home Slider.
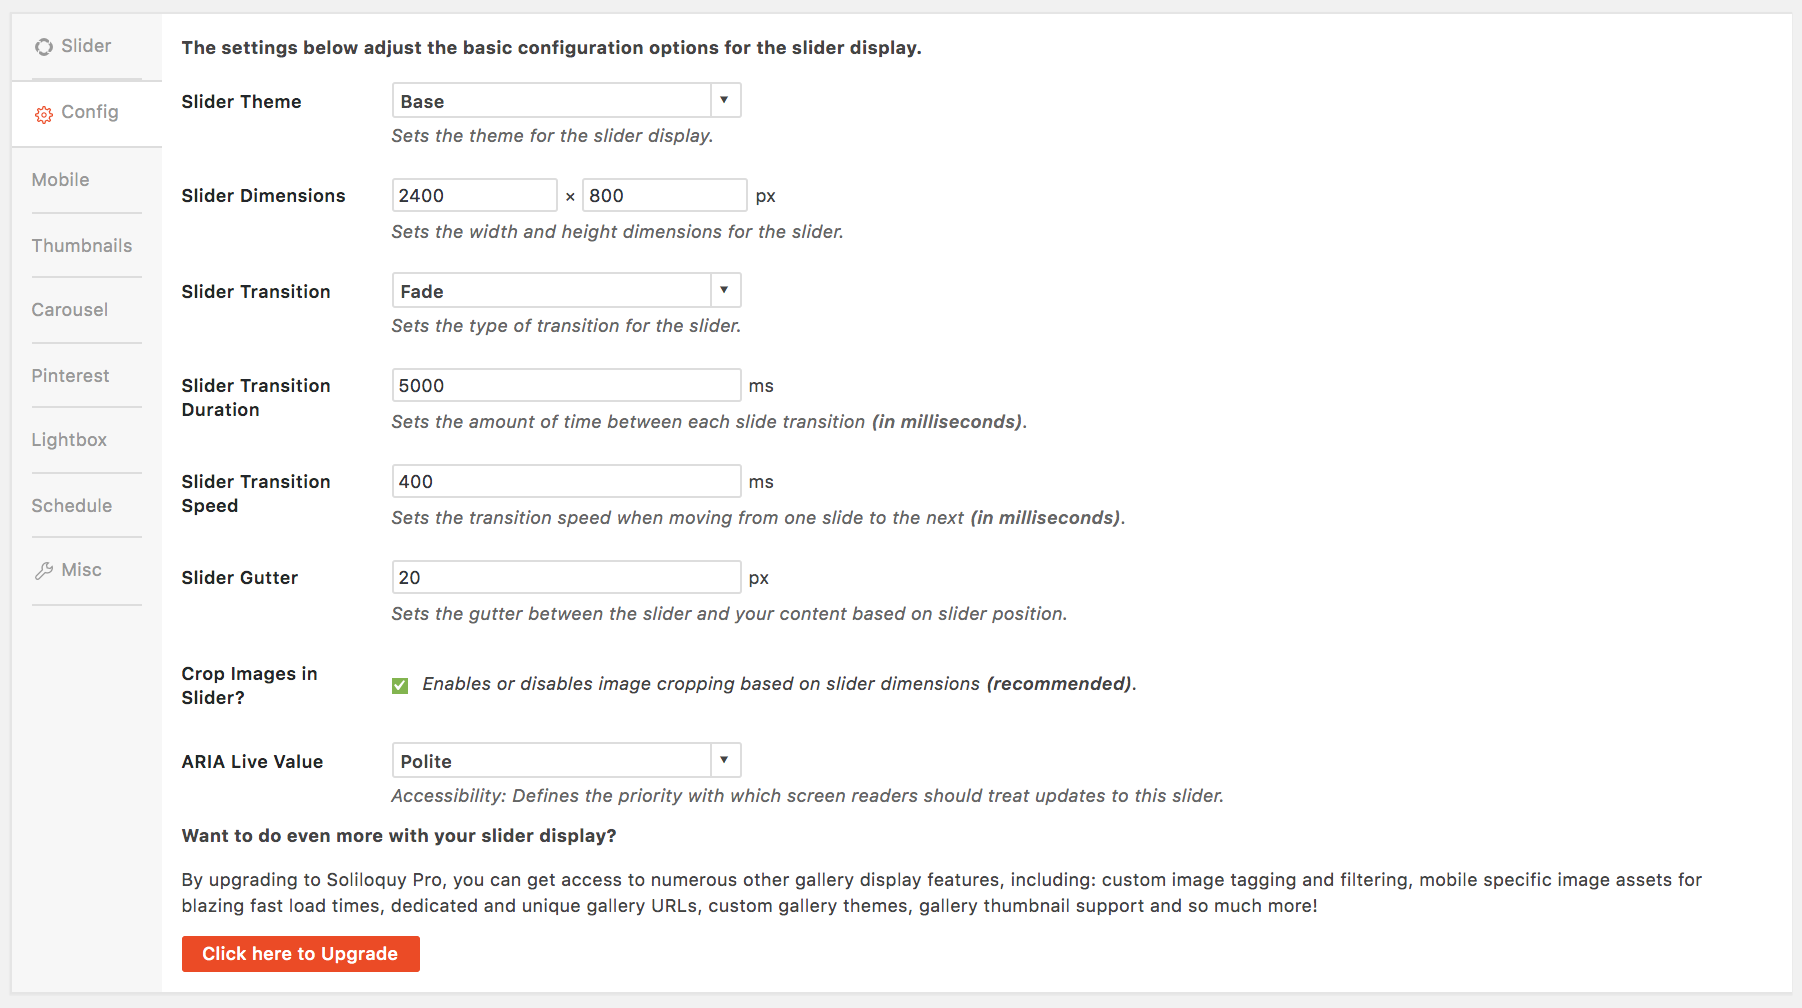
- Click the Config tab and use the settings from the screenshot below.
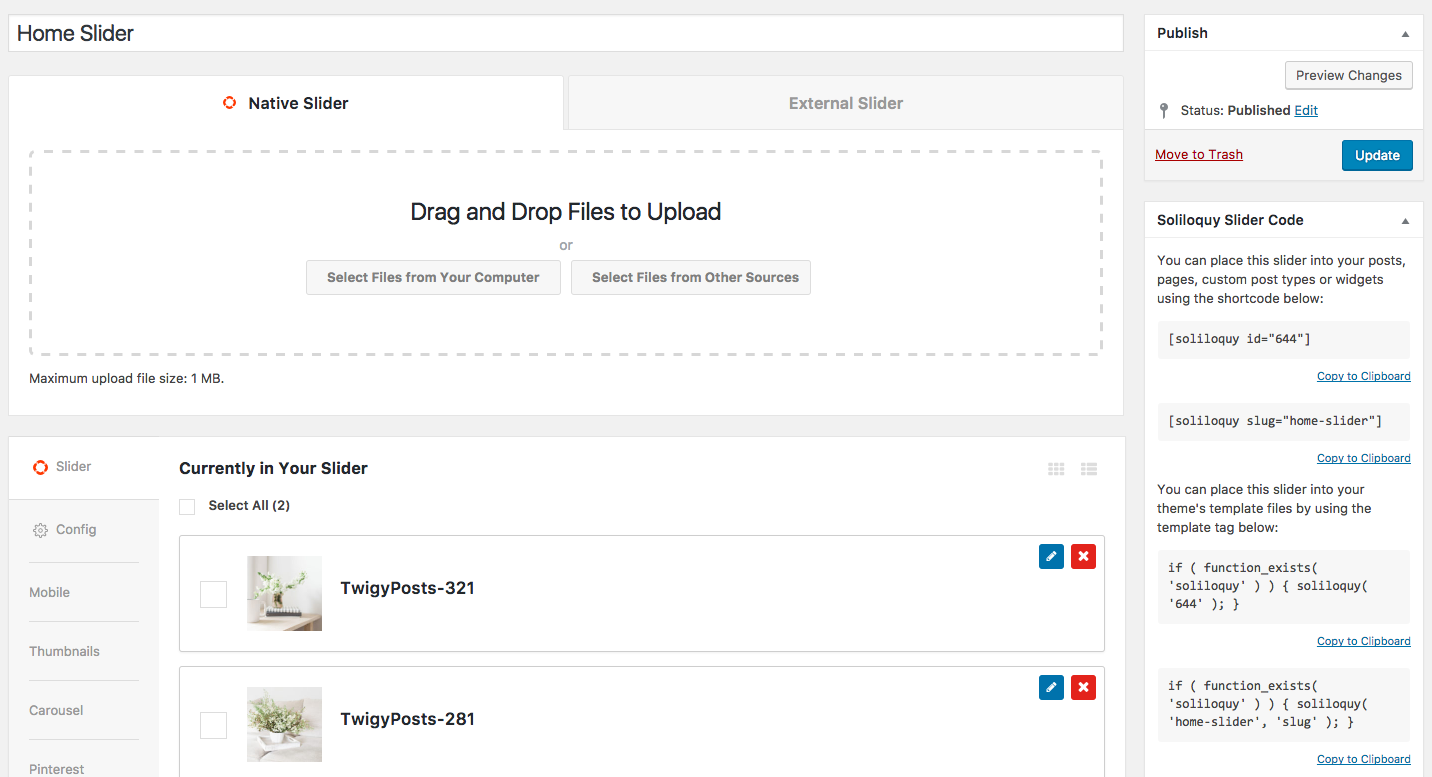
- Once configured, you can add your images under the Slider tab. NOTE: When you add the images, it may take a full minute for the images to actually show in the settings.
- Click "Publish" (top right.)
- Before you close this window, copy the slider shortcode in the sidebar.
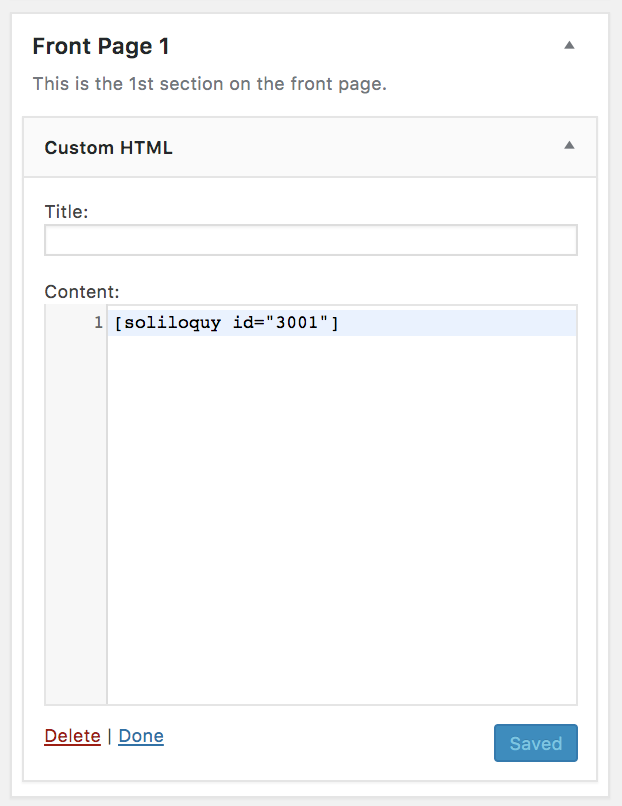
- Custom HTML widget to the Front Page 1 widget area, and paste the shortcode in the content field. Save the widget.
NOTE: The slider does not have to include multiple images. You can use several images or just one static image.
To add captions to the slider images:
- Click on the pencil next to the image thumbnail.
- Add content to the Caption field, as shown below:
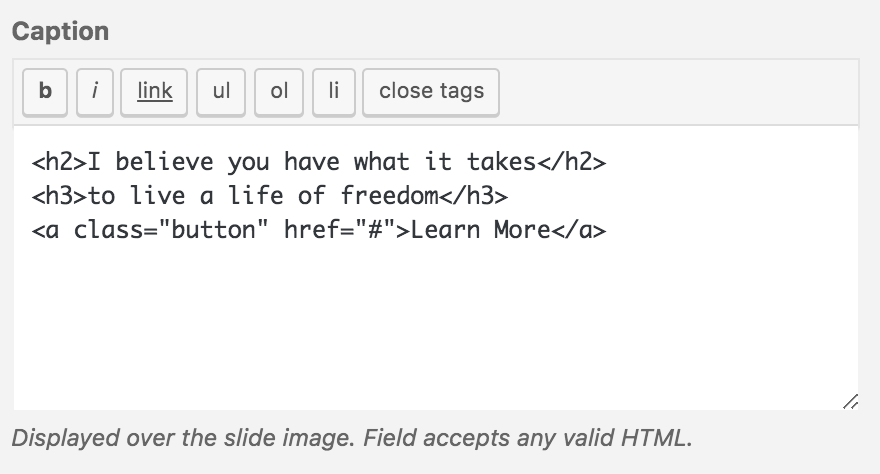
Here is the code used in the demo:
Replace the # with the link for the button.
If you'd like the caption to also display on mobile, navigate to Appearance > Customizer > Additional CSS and add the code below: