Refined - Plugins to Install
RECOMMENDED PLUGINS:
- Genesis Enews Extended – This is for the subscribe/newsletter areas.
- Instagram Feed – This shows your latest Instagram feed.
- Ninja Forms – This is for the contact form on the Contact Page.
- Responsive Wordpress Slider - Soliloquy Lite – This is the slider used on the home page.
- Simple Social Icons – This is for the social media icons.
- Strong Testimonials – This displays testimonials in the "Why Us" section of the home page.
- Regenerate Thumbnails – This re-crops oddly-sized images.
- Widget Importer & Exporter – This imports all widgets from the demo and helps with setting up the theme for the first time.
OPTIONAL PLUGINS:
- WP Recipe Maker - For recipe cards.
If you are not going to have a shop on your site, you will NOT need to install these plugins.
- WooCommerce – The eCommerce area of the site. If you are not using this feature, do not install this plugin.
- Genesis Connect for WooCommerce – This is used in conjunction with the WooCommerce plugin to work nicely with Genesis.
Automatic Plugin Installation
Refined comes pre-packaged with the recommended plugins listed above.
If the Genesis theme is already installed, this section might not be applicable; however, if any of the required plugins have not been installed, they will appear at the top of your dashboard as shown below.
Note: WooCommerce plugins are not included; these need to be installed separately, following the How to Install and Set Up the Shop tutorial.
To begin activating these plugins, click on the BEGIN INSTALLING PLUGINS option, as shown below.

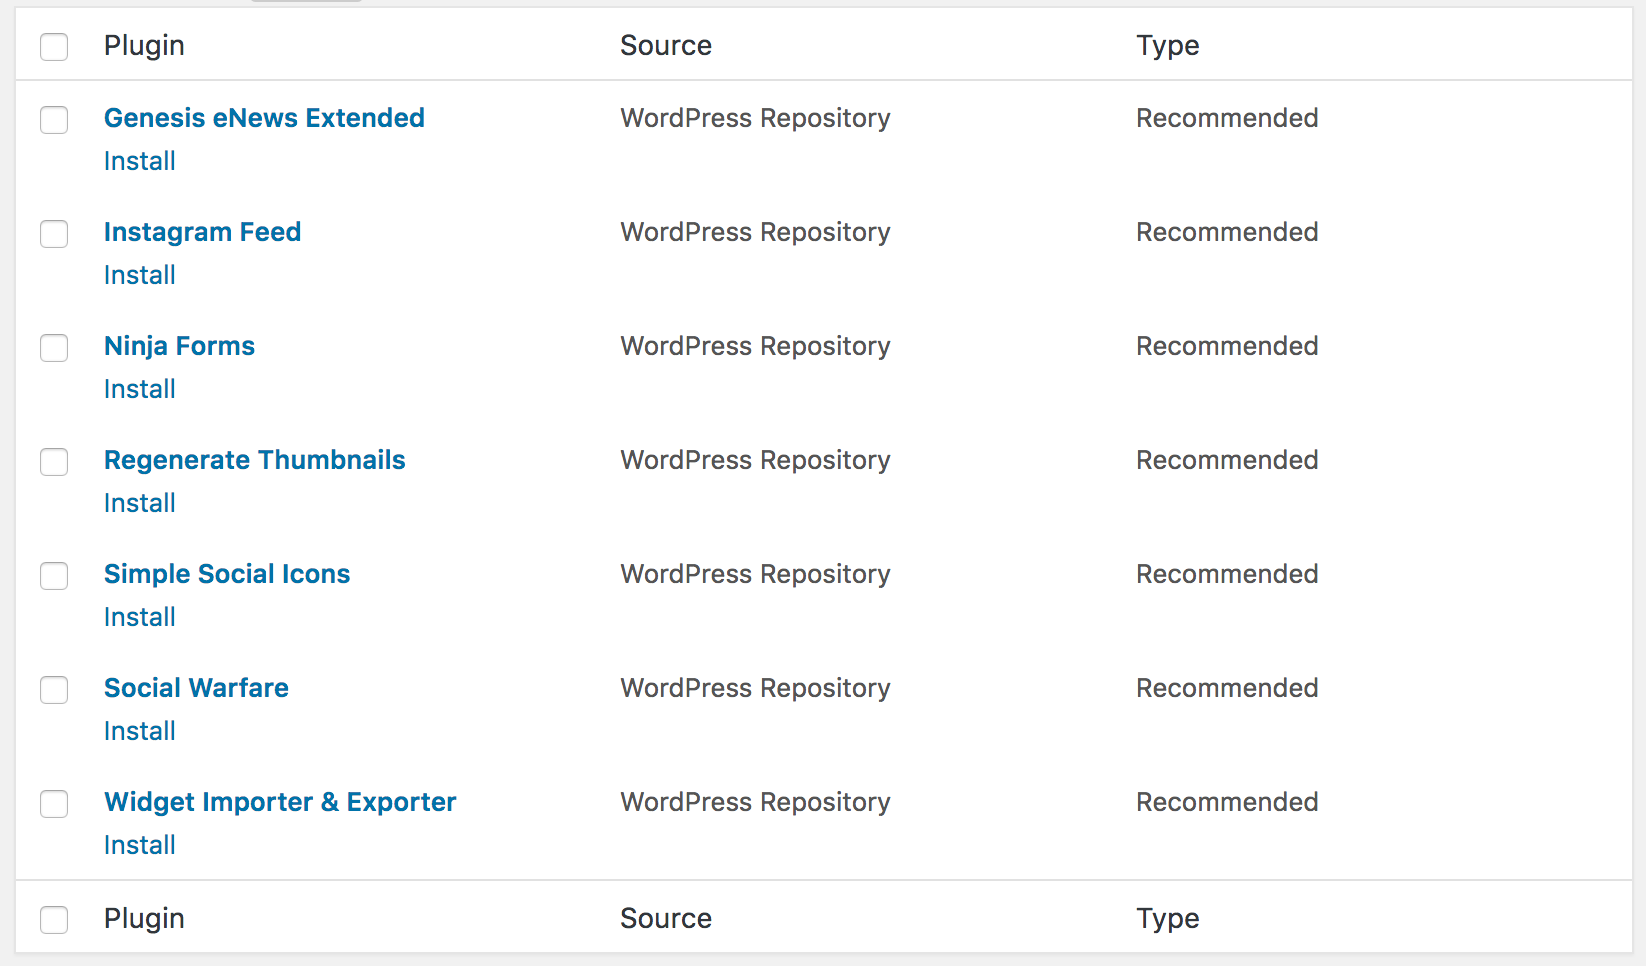
A new screen with each plugin listed will be displayed. If you already have these plugins installed, they will show as active.

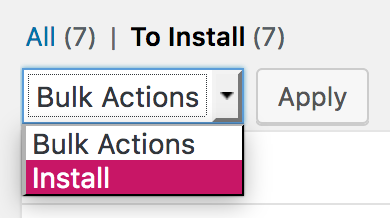
Check the box for each plugin to install and then select INSTALL from the dropdown box, as shown below.

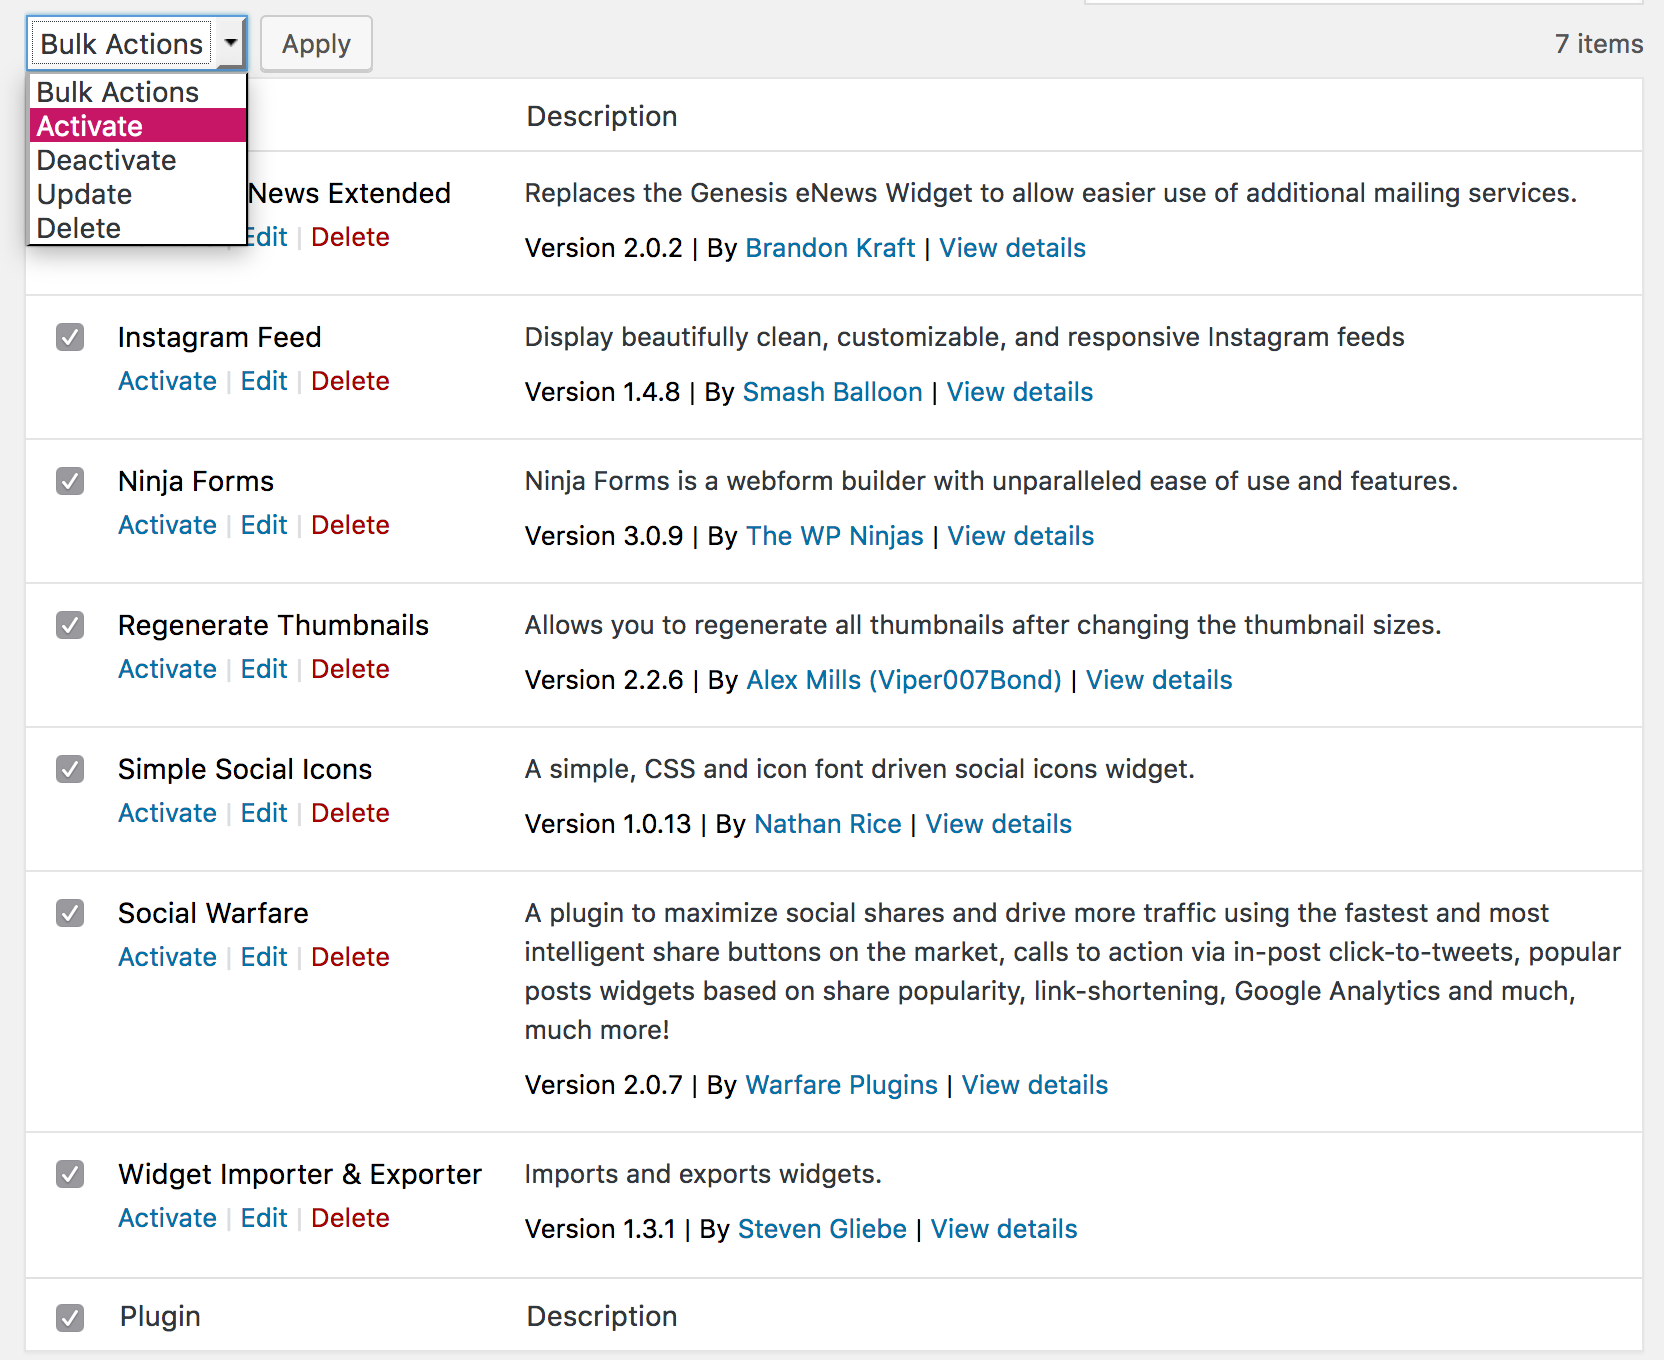
The successful installation screen will be displayed. At the bottom, click on the RETURN TO PLUGINS option. Again select each of the plugins that you just installed to activate them.

Click ACTIVATE and then follow the instructions throughout the rest of this tutorial to configure them like the demo.